Microsoft Visual Studio is an environment which allows you to create, edit, save, debug, compile, and run C++ programs.
Projects Every C++ program is contained in its own project directory. Whenever you start a new homework assignment or any C++ program, you must create a project within Visual Studio first and add C++ source code files (text files with extension .cpp) to that project. In this handout, we will show you how.
Solutions A solution is a file that groups related C++ projects together in order to organize them. You will only need to create two solutions for this course: one for your homework projects and another for example projects given to you in PIC 10A.
To create your first project and solution for your homework, follow these steps:
Step 1: Open Microsoft Visual Studio by clicking the purple infinity icon ![]()
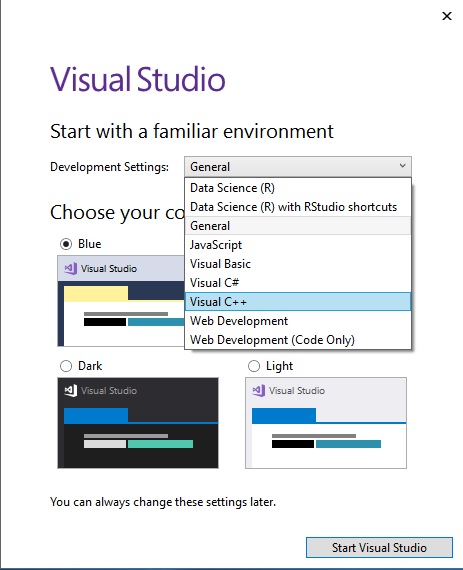
Select “Visual C++” from the drop-down menu. Then press “Start Visual Studio.”
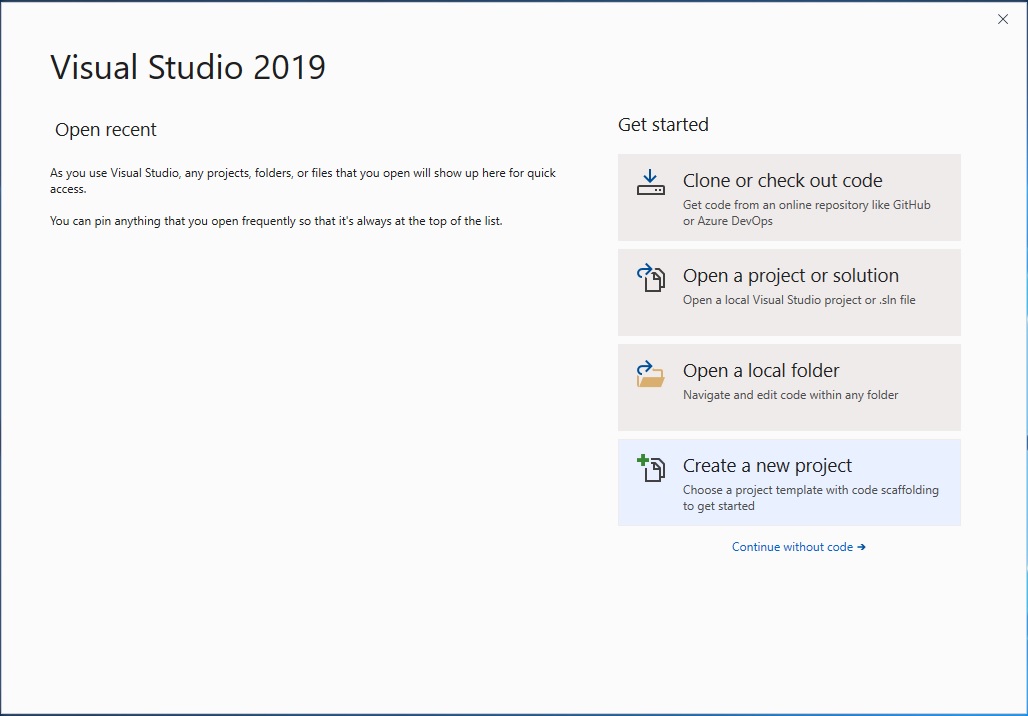
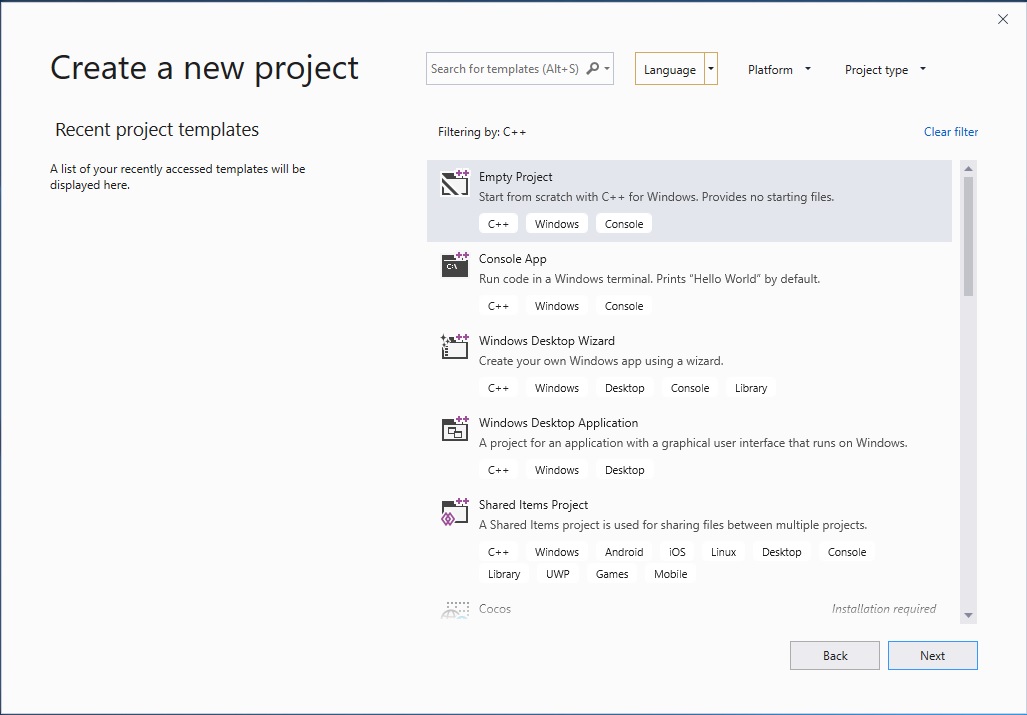
Step 2: Select “Create a new project.”
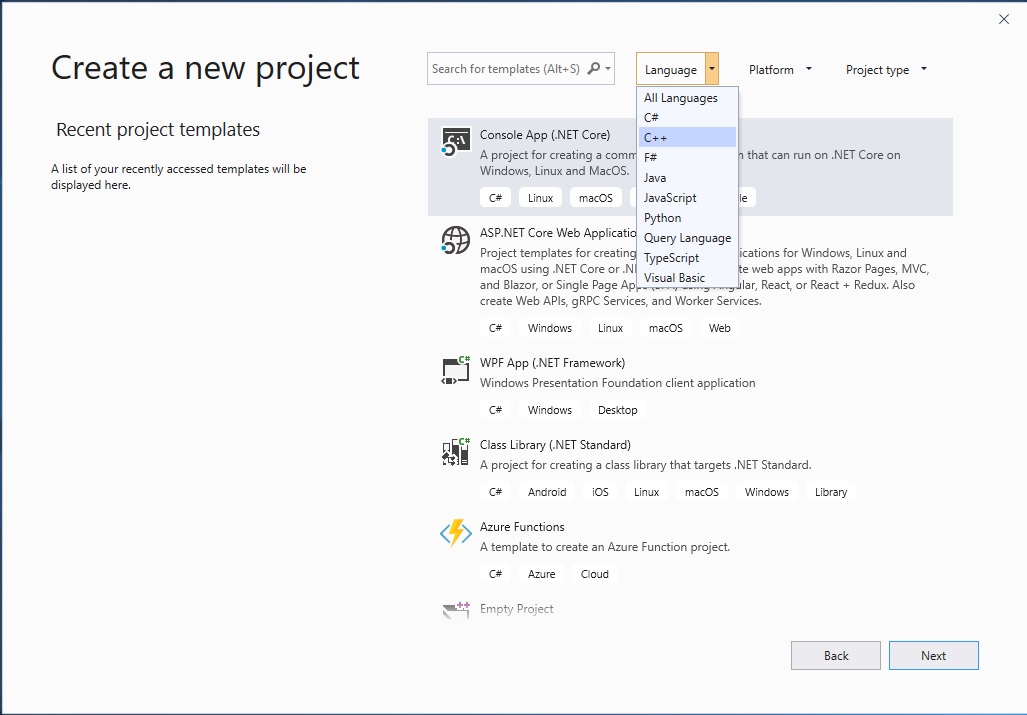
Step 3: Under the “Language” drop down menu, select “C++” and then select “Empty Project” then the “Next” button.”
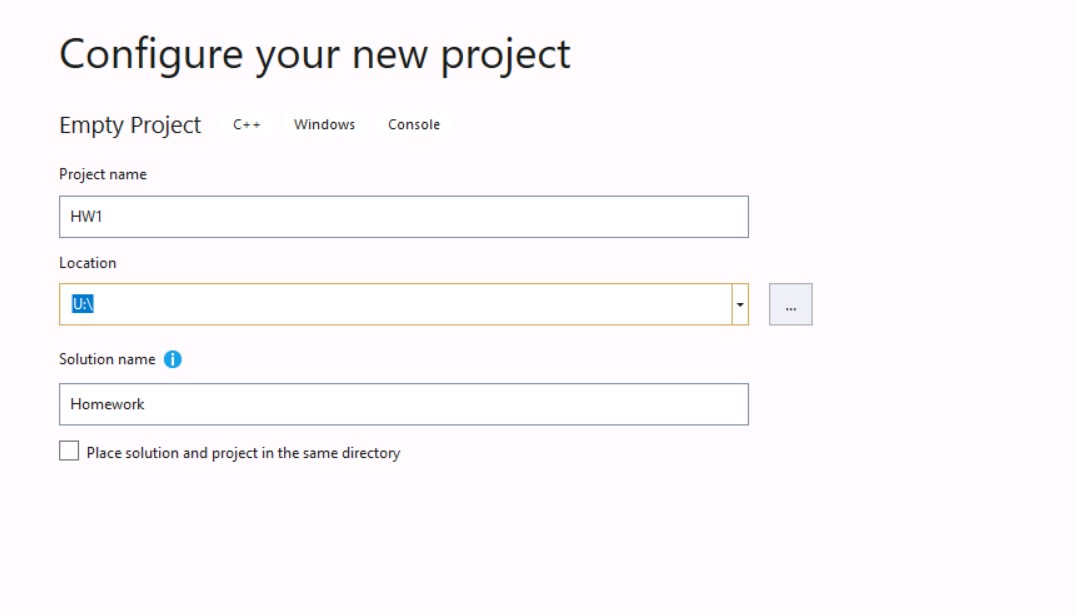
Step 4: Configure your new project. Under the “Project name:” enter the name of your project “Hw1”. If you are using your own computer, then one can leave the Location item as is. If you are using a Virtual PIC Lab machine, then under “Location:” enter the location where you want to save your project on the U drive, e.g. “U:\”. Under “Solution name:” enter the name of your solution “Homework”. Then click the “Create” button.
Then your project will be ready to start:
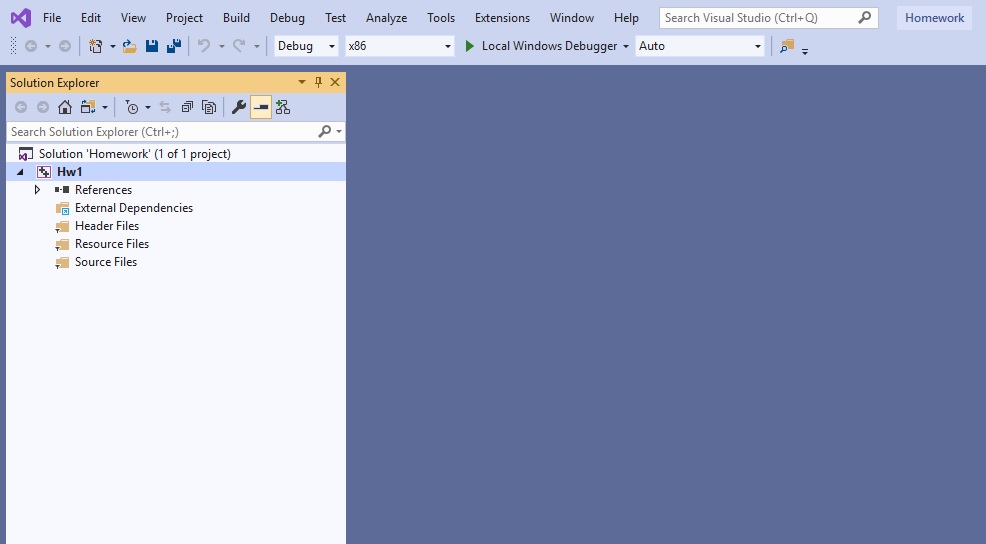
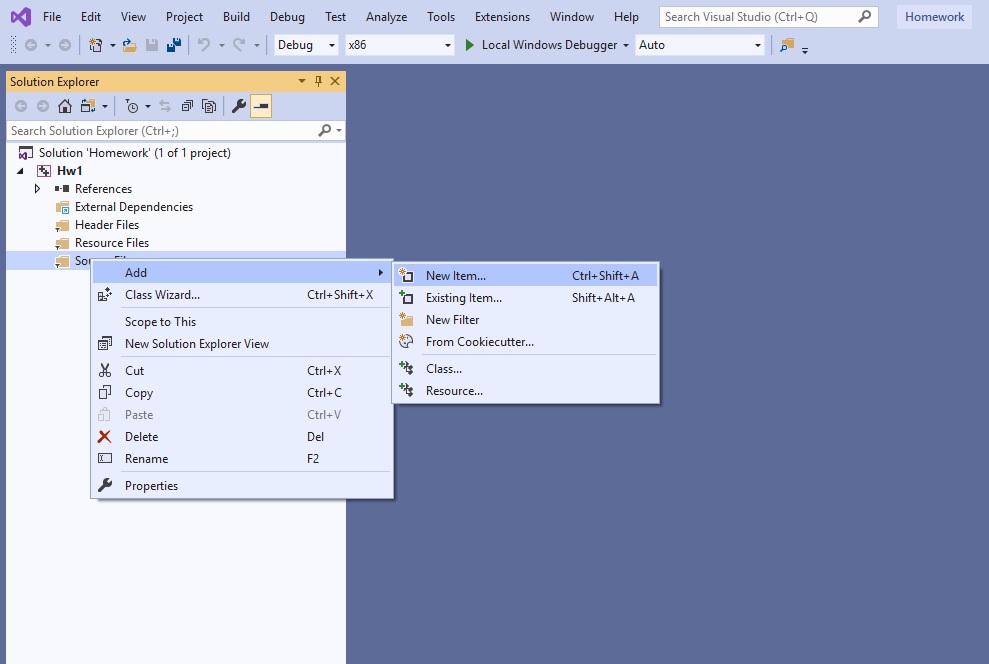
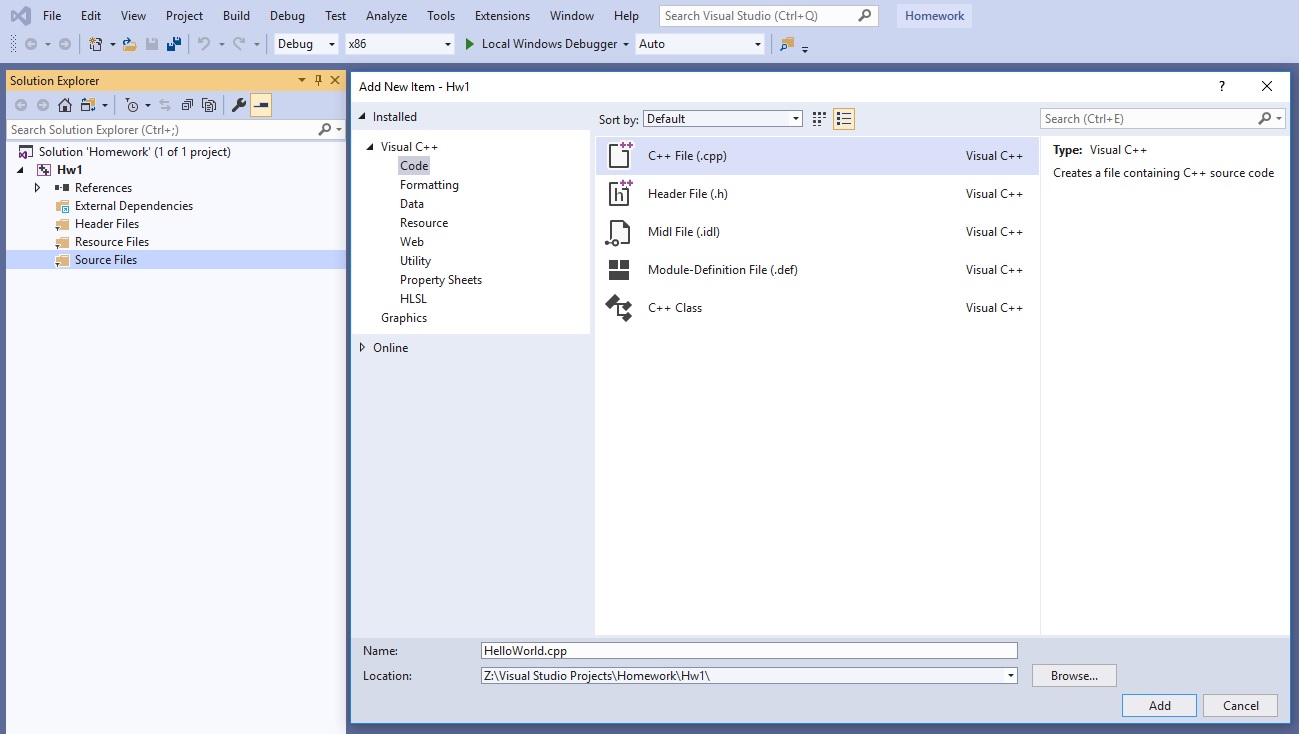
Step 5: Your solution “Homework” and Project “Hw1” are displayed in the Solution Explorer. Right-click “Source files,” select “Add”, then “New Item” to create source code.
Step 6: Under Visual C++, select “Code.” Then select “C++” File in the middle frame. Enter the name of your C++ source code file “HelloWorld.cpp” and press “Add.” This will create the source code file (a plain text file) inside your Project1 Project folder and integrate it into your program.
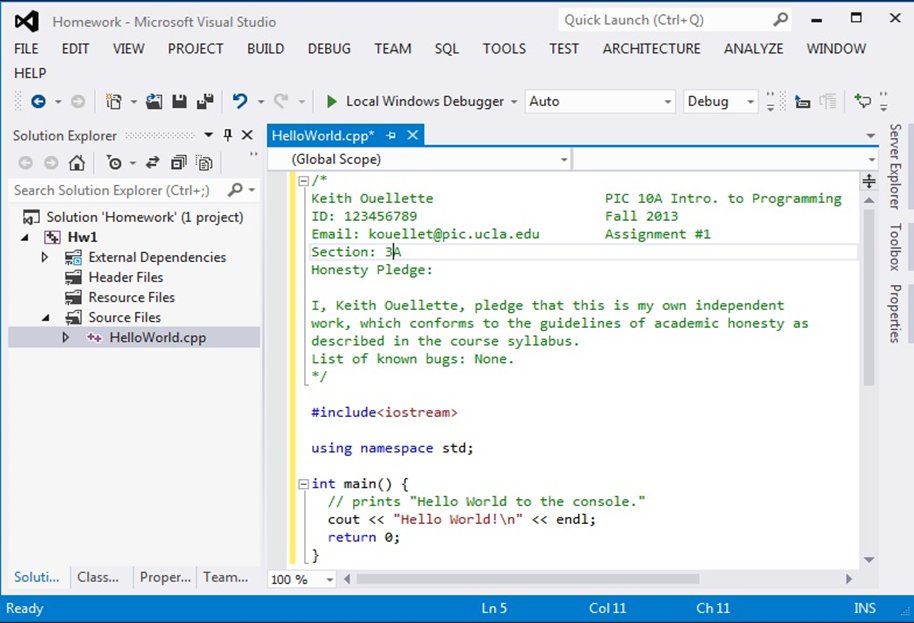
Step 7: Type your C++ code into the source editor and press CTRL-S to save.
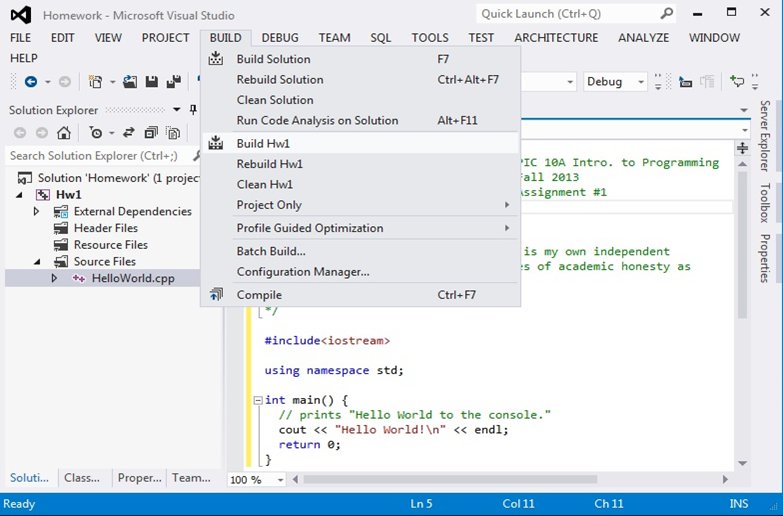
Step 8: After editing the source code file, select the “Build” menu and then “Build Hw1” to compile your project. The compiler will translate your source code into a binary executable (.exe) file written in your machine’s native language. The file “Hw1.exe” will be created as a result.
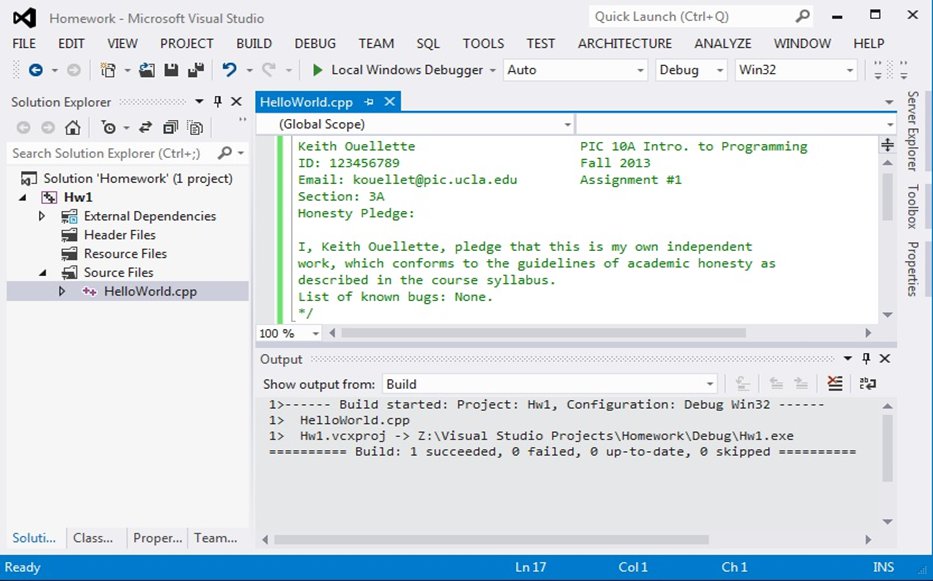
You will see the message “Build: 1 Succeeded” in the output window.
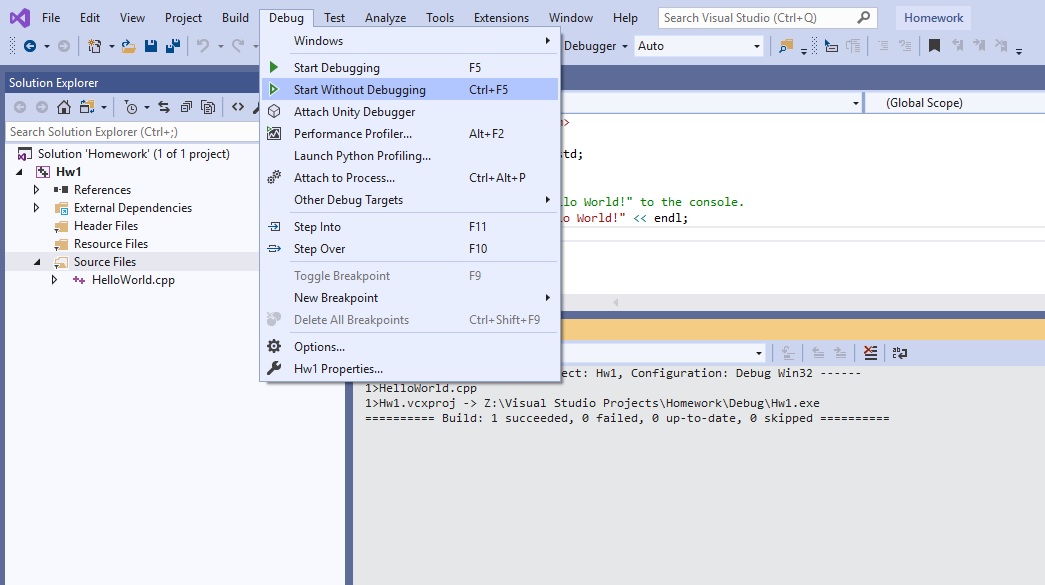
Step 9: To run program, select the Debug menu, followed by ”Start without debugging.”
Step 10: The output console will pop up and display the message “Hello World!”
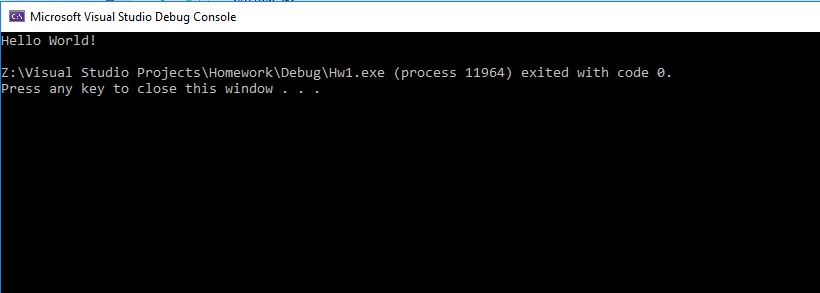
Congratulations! You just completed your first C++ program!
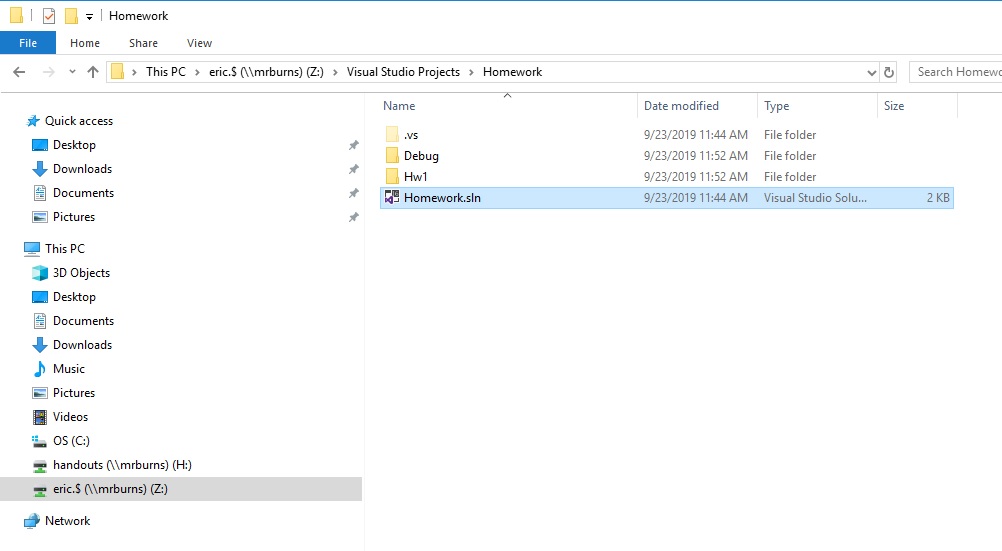
You can find the solution (.sln) file in the solution directory “Z:\Visual Studio Projects\Homework\”
You can find the source code HelloWorld.cpp in your Hw1 project subdirectory:
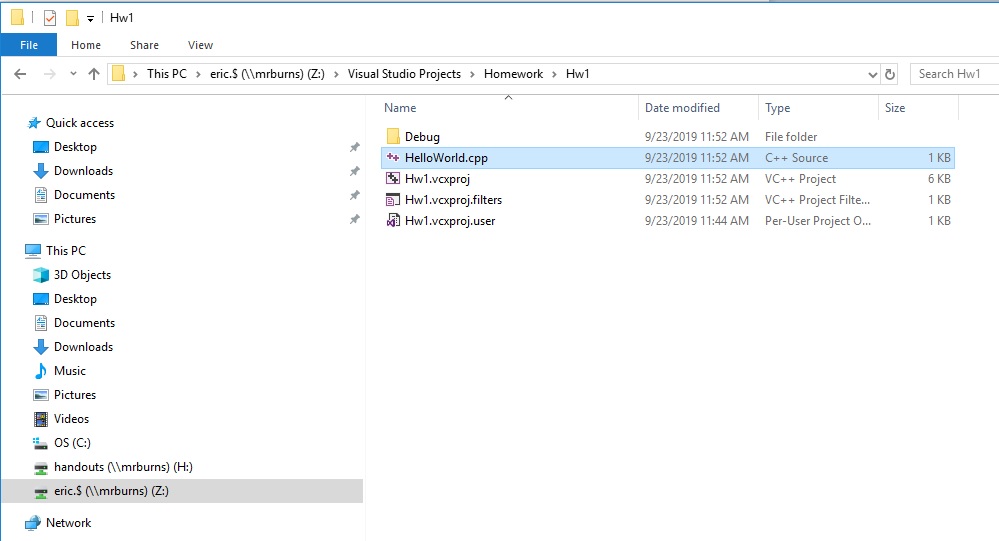
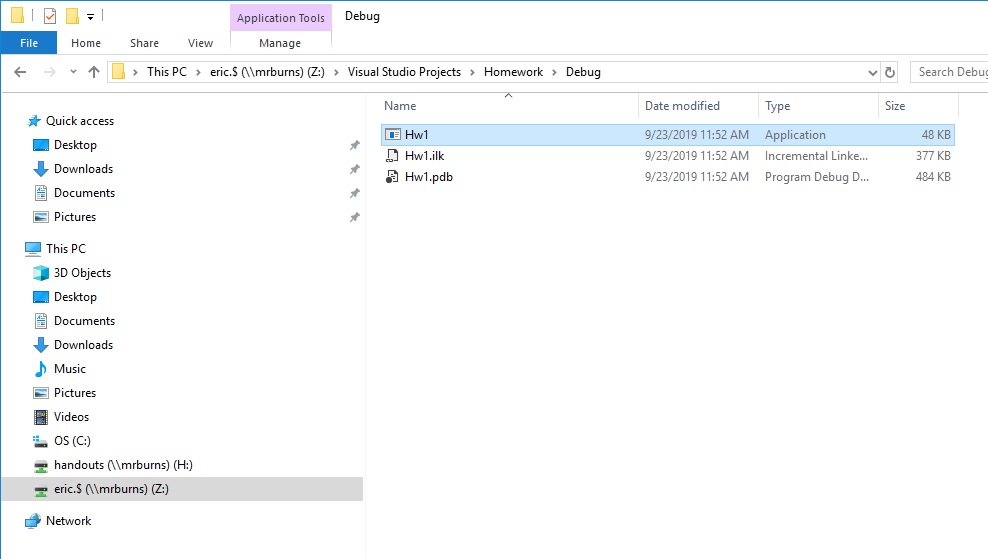
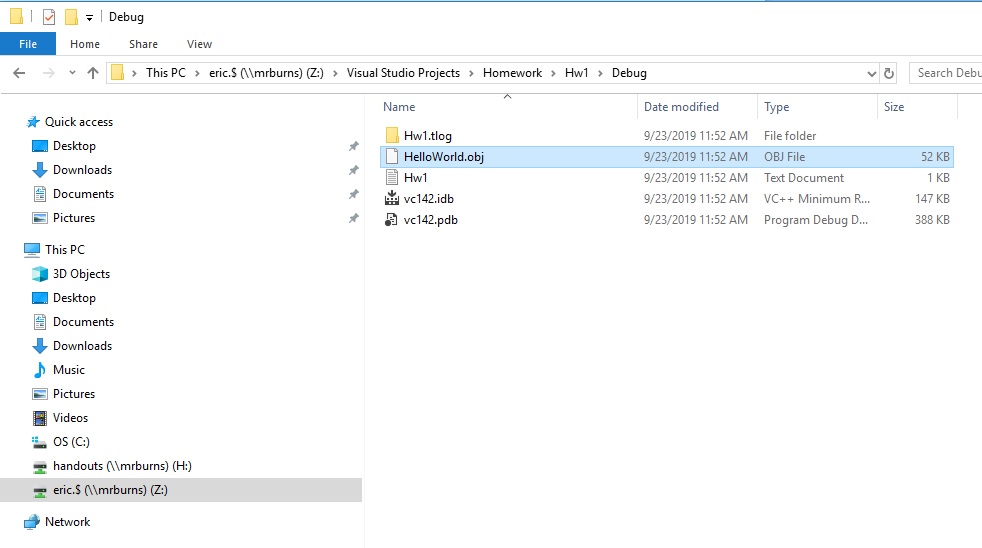
The object (.obj file) is located in your Project “Hw1” subfolder called “Debug.”
The standalone executable (.exe) file of your program is located in the “Debug” subfolder of your “Homework” solution folder.